
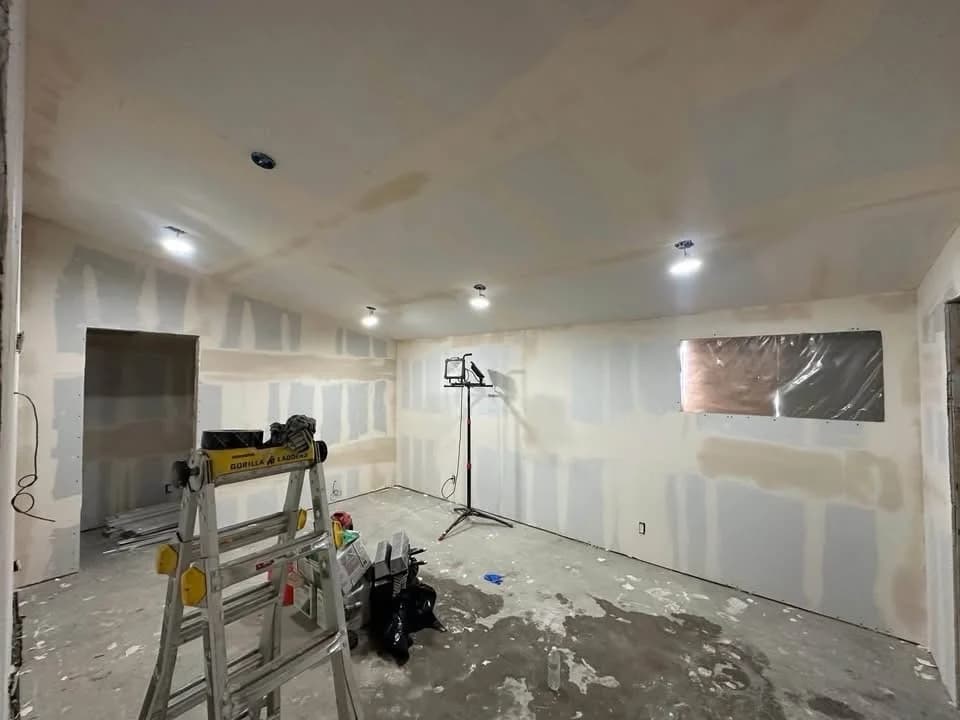
A new wall can look very different at midday than it does with a wall-washing light switched on at night. That is why a drywall proposal needs more than the phrase ready for paint. The intended finish, the lighting and the agreed viewing conditions belong in the conversation before finishing begins.
The Gypsum Association's GA-214 finish framework gives designers, finishers and decorators a shared language. This guide explains the homeowner decision between two commonly discussed levels. The actual assembly and finishing specification still need to suit the project.
Understand what the finish level describes
Level 4 includes treatment of joints, interior angles, fastener heads and accessories, leaving the finished surface smooth and free of tool marks. National Gypsum describes it as a typical choice for certain flat-painted or textured appearance areas.
Level 5 adds a skim coat across the whole surface. It is commonly specified where critical lighting, non-flat decoration or dark and deep-tone colors make differences more apparent. These are finish descriptions, not competing brands of board or paint. Neither level is a substitute for a properly planned wall or ceiling assembly.
Walk the room with its actual lighting in mind
Identify large windows at the end of a wall, skylights, low-angle sunlight, recessed lights near a surface and planned decorative wall washers. Light traveling across a surface can emphasize small changes that are less apparent under diffuse light.
Bring the lighting plan if you have one. If fixtures will be installed later, identify their positions before drywall work is priced. A finish chosen under temporary construction lights may not represent the room you will occupy. USG's finishing guidance specifically treats critical light and environmental conditions as finishing challenges.
Decide on decoration before comparing quotes
Tell the estimator whether you want a smooth finish or texture, the approximate color family and the intended paint sheen. A dark accent wall and a lightly textured ceiling do not necessarily need the same finish approach.
Ask the painter and drywall finisher to coordinate. The quote should explain who provides the surface preparation, skim coat if selected, primer and finish coating. A statement that paint includes primer does not automatically answer how the drywall substrate is prepared. Read the product instructions and the written proposal together.
Use a representative mockup
A sample area is useful when appearance matters. Choose a location representative of the light and surface you are concerned about, and agree what it will demonstrate: finish level, texture, primer, color and sheen. Review it under the planned final lighting as well as ordinary daylight.
Record the accepted sample and any changes before the entire area is completed. A small sample hidden in a closet cannot settle expectations for a long, sunlit living-room wall. The GA-214 framework discusses mockups as a way to confirm that the selected finish and decoration meet the project's appearance expectations.
Put these boundaries in the proposal
- Which walls and ceilings receive each finish level
- Smooth or textured appearance and any matching work
- Whether the full-surface skim coat is included
- The primer and paint responsibilities
- Mockup location, review conditions and approval point
- Protection, dust control, access and cleanup
- What existing waviness or concealed conditions are outside the finish scope
The finish level does not solve every underlying problem. Ask separately about damaged board, moisture, framing alignment and existing surfaces that need more than cosmetic preparation. For a repair rather than a new installation, the recurring drywall crack guide helps organize that history.
Compare the complete finished result
One proposal might stop after joint finishing, while another includes skim coating, priming and paint. Those totals describe different deliverables. Ask for the same area and finish assumptions before treating the price difference as a saving.
Start with drywall installation and finishing, then connect the finish selection to your interior painting scope. Your goal is an agreed appearance under the room's intended conditions, with the work needed to get there clearly priced.