
Your privacy choices

Booking and estimate requests work without optional tracking. We remember your choices in this browser for 180 days, including future visits. Choose analytics and session replay, or advertising separately.

Optional tracking stays off until you choose. Session replay covers public marketing pages; dedicated contact, booking, hail-report and private workspaces are excluded. Change or withdraw permission using “Privacy choices” in the footer. Changing active tracking reloads the page to apply your saved choices. Global Privacy Control keeps optional tracking off. Read our privacy notice.

Skip to content
Peak Elevation ExteriorsRequest an estimateEstimate

Drywall

Drywall Installation in Denver & the Front Range

Basements, remodels, and garages hung, taped, and finished flat.

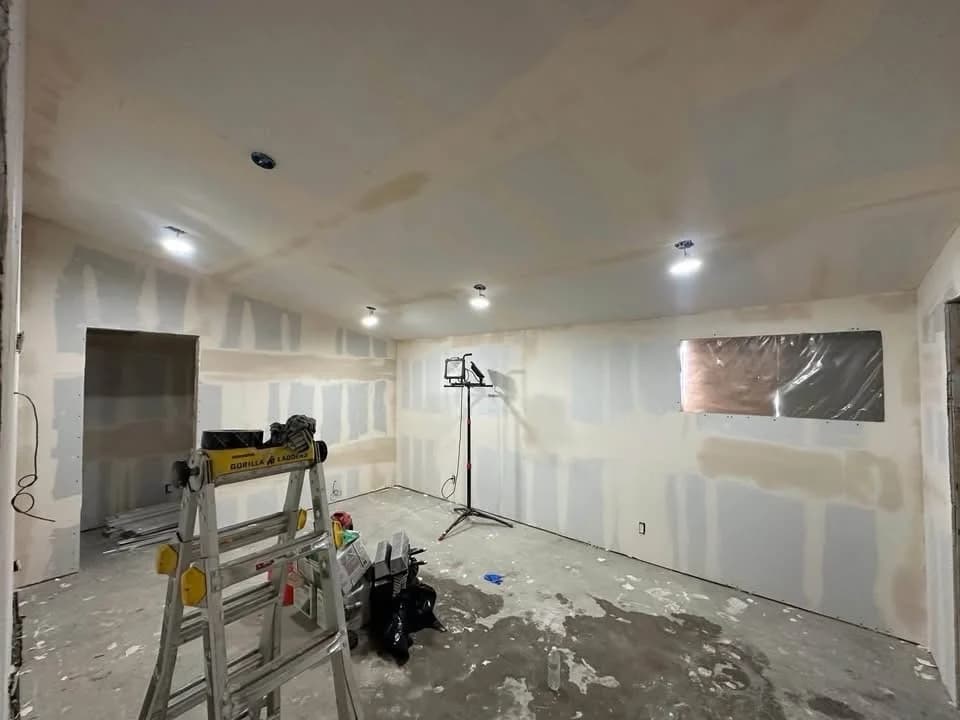
Wide interior room with visible drywall joints, compound and work equipment
Drywall joint finishing in the room.
Drywall Installation · A closer look

From the room layout to the finish.

Follow the work, from preparation to the final details. Your quote defines which steps and surfaces are included.

How the work comes together01 / 04
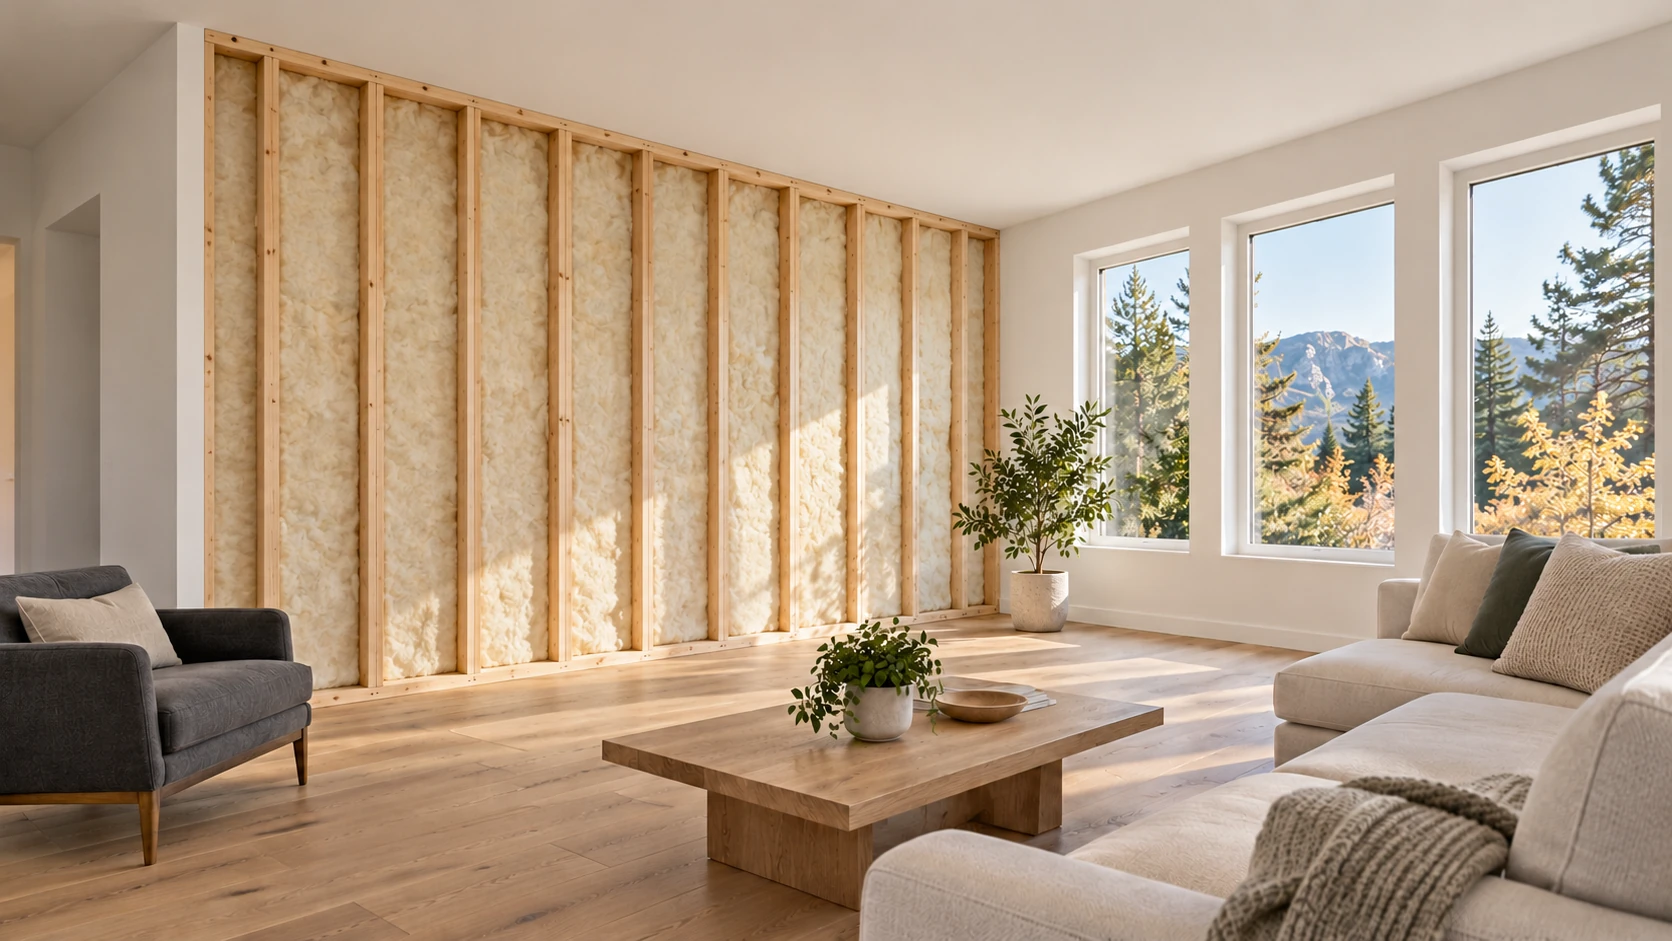
Illustrative room, stage 1: exposed framing and insulation. Color changes preserve the ceiling, windows, trim and furnishings.Illustrative room · Matched work stages
Explore this step in detail
Work detailRooms, backing & board requirements
Illustrative wall framing and finish. Selected stage 1.

Illustrative work sequence. Board, joint treatment and finish appear in order. The specified room requirements determine board type, finish level and any separate wet-area work.

01 / Rooms, backing & board requirements

Prepare the rooms and backing

Protect the work area and confirm the accepted walls, ceilings, backing and board requirements.

  • Check room-specific board and finish requirements before sheets are stocked and installed.
  • Resolve moisture sources and required concealed-work checks before closing a wall. Wet-area backer, waterproofing and tile need their own defined scope.
02 / Specified wall & ceiling board

Hang the specified board

Fit and attach the accepted board to the included wall and ceiling areas.

  • Board type, thickness, openings and any layered assembly follow the project requirements.
  • Only the agreed rooms, returns, ceilings and related details belong to the installation scope.
03 / Tape, joints & corners

Treat the joints and corners

Apply the specified joint tape, compound and corner treatment to the included board.

  • Allow the selected materials to dry as required between finishing stages.
  • The agreed finish level and surface conditions determine the joint treatment and finishing work.
04 / Sanding, texture & paint boundary

Complete the agreed finish

Sand and apply included texture or other specified finishing, then review the surfaces and cleanup.

  • Confirm whether the quote stops at a paint-ready surface or includes separate primer and paint work.
  • Review the finish under the room's normal lighting and record any remaining items.
Your project starts here

What do you
want to work on?

Choose the closest starting point. We’ll include it with your request so the first conversation starts with your project.

Useful details to includeInclude room layout, wall and ceiling areas if known, heights, board requirements and the status of framing, electrical and plumbing.

Questions first? Call (720) 619-6563
Start your project

Tell us about your project.

Tell us where and what you need. No obligation.

Your project choices

Service: Drywall Installation

Included with your request. We’ll confirm the scope with you.
Add project details or a plan link (optional)

Prefer email? Send photos or plans directly.

Call (720) 619-6563 Text Gilberto Email us

Project photos

Work and details.

A closer look at the surfaces, preparation and connections. Open a photograph to see the full view.

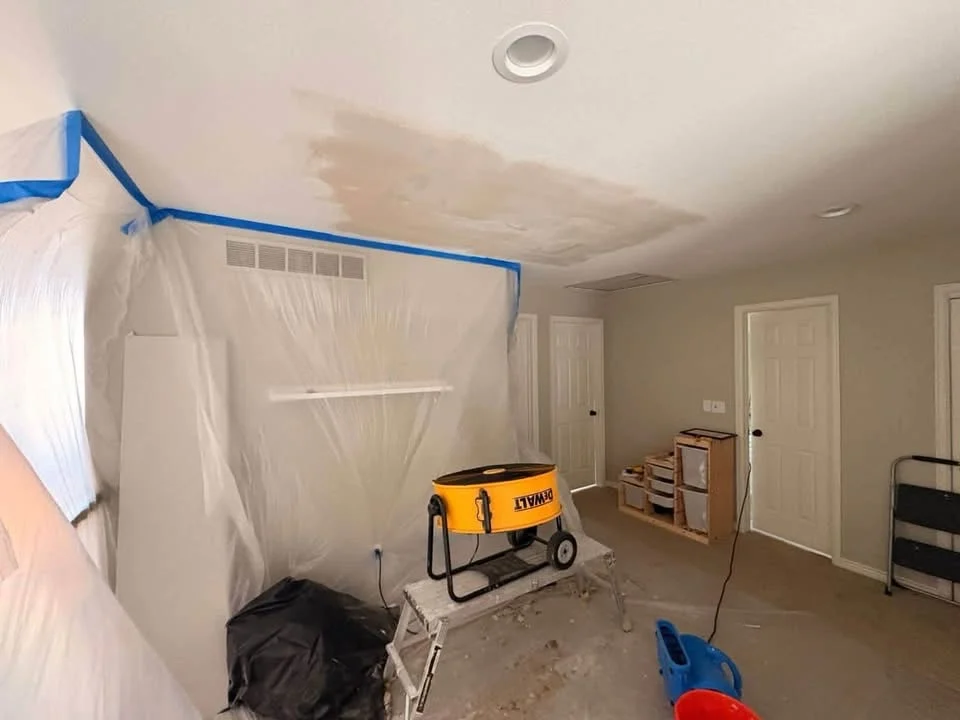
Ceiling repair area above masked openings, protected floors and work equipmentOpen full photo
Ceiling repair with the adjoining room protected.

Plan the installation

Drywall Installation in Denver metro: start with layout and site conditions.

Agree on the required finish and what follows installation. Hanging board, finishing joints, texture, and painting are different scope items. We clarify these so the space is ready for the next step you actually need.

What to discuss at the site visit

  • A remodel needs new walls or ceilings
  • An unfinished room needs board and finishing
  • Damaged sections need more than a small patch

What affects your quote

  • Wall and ceiling area and board requirements
  • Access, hanging, taping, and finish level
  • Texture, painting, and coordination with other trades
How to prepare for your estimate

Bring the room layout and explain how it will be used. Let us know the status of electrical, insulation, plumbing, and any permit requirements.

Get a written scope before scheduling work. We discuss materials, the layout and attachment, access, and any related work so you can compare your options.

Continue with your project choices.

Send your scope and finish preferences with the project request above. Your estimate starts with the work you selected.

Go to my project request
YOUR PROJECT / THE NEXT STEP

Put the details
in one request.

Include your chosen scope and finishes, the property details, and a link to any plans. We’ll review the work and confirm the next step with you.

Continue my projectYour selections stay on this page until you send your request.

Explore roofing details and published exterior project records.

Open the photo library

The service

Drywall Installation for Front Range conditions

Drywall is the finish everyone sees and nobody should notice. Get it right and paint glides over invisible seams; get it lazy and every joint telegraphs the moment afternoon sun rakes the wall. The difference is in the boring details — straight framing checks before the first sheet, staggered seams, proper screw pattern, and finish coats sanded to spec rather than to schedule.

We install drywall for basement finishes, remodels, additions, and garages across the Denver metro: standard, moisture-resistant, and fire-rated board where code calls for it, finished to Level 4 for standard paint or Level 5 for critical light and dark colors. Choose knockdown, orange peel or smooth finishes to suit the room and surrounding surfaces.

Colorado note

Dry climate, real cracks

Colorado's dry air and expansive soils make homes move more than most drywall guides assume. We back-block ceilings, use setting compounds where movement is likely, and respect control joints on long runs — details that support the chosen board and finish system.

Local

Serving these cities

Free on-site estimates across the Denver metro — tap your city for local details.

Scope

What’s included

  • Framing straightness check before hanging
  • Standard, moisture-resistant, or fire-rated board
  • Staggered seams and correct fastening pattern
  • Level 4 or Level 5 finishing to suit the paint
  • Knockdown, orange peel, or smooth texture
  • Dust-controlled sanding and daily cleanup

Choices

Options & materials

Most requested

Basement Finish Package

Full hang-tape-texture for finished basements, with moisture-resistant board where it belongs and Level 4–5 finishing throughout.

Code

Garage Fire-Rated Board

Garage walls and ceilings finished with the board, layers and joint treatment required for the specified assembly.

Showcase

Level 5 Smooth Finish

A full skim coat for a smooth finish under dark paint, gloss or light that washes across the wall.

How we work

Four steps. A clearer plan.

Good questions

Questions homeowners ask

What's the difference between Level 4 and Level 5 finish?

Level 4 is the standard for most painted walls: taped seams with multiple finish coats, sanded smooth. Level 5 adds a full skim coat across the entire surface — an option for dark colors, gloss or lighting that washes down the wall. We'll recommend a finish level for the room, paint and lighting.

Can you match the texture in the rest of my house?

We can blend knockdown, orange peel and smooth finishes with the surrounding surface. Age, texture, lighting and paint can prevent an exact match. A sample area helps set expectations before the work begins.

How long does drywall take in a typical basement?

Hanging is fast; drying is honest. Tape and finish coats each need cure time, so a standard basement runs roughly 4–7 working days from first sheet to sanded-and-ready-for-primer, depending on size and texture. Rushing coats is how ridges and cracks are born, so we don't.

Do you handle just the drywall if my remodel has other trades?

Happily. We coordinate with your GC or other trades, show up when the framing and rough-ins are truly ready, and hand off walls that make the painter's job easy. Clean scope boundaries, clean site, clean schedule.

What affects the price of drywall installation?

Wall and ceiling area and board requirements; Access, hanging, taping, and finish level; Texture, painting, and coordination with other trades. We inspect the property before giving a written project quote.

How should I prepare for my Drywall Installation estimate?

Bring the room layout and explain how it will be used. Let us know the status of electrical, insulation, plumbing, and any permit requirements.

From our blog

Colorado exterior guides

All blog posts

Free estimates · No pressure

Ready for drywall installation?

Free on-site walk-through, a written line-item quote, and honest advice — even when the honest advice is a smaller job.

Continue my project
PEAK ELEVATION EXTERIORS

Project concierge

Guided planning. A clearer path to your estimate.

01 / TELL US ABOUT YOUR HOME

Leave out your address and contact details. Your text stays in this page until you choose to copy or send it.

Prefer to send a request directly?