
Your privacy choices

Booking and estimate requests work without optional tracking. We remember your choices in this browser for 180 days, including future visits. Choose analytics and session replay, or advertising separately.

Optional tracking stays off until you choose. Session replay covers public marketing pages; dedicated contact, booking, hail-report and private workspaces are excluded. Change or withdraw permission using “Privacy choices” in the footer. Changing active tracking reloads the page to apply your saved choices. Global Privacy Control keeps optional tracking off. Read our privacy notice.

Skip to content
Peak Elevation ExteriorsRequest an estimateEstimate

Drywall

Drywall Repair in Denver & the Front Range

Holes, cracks and damaged board patched, taped and finished.

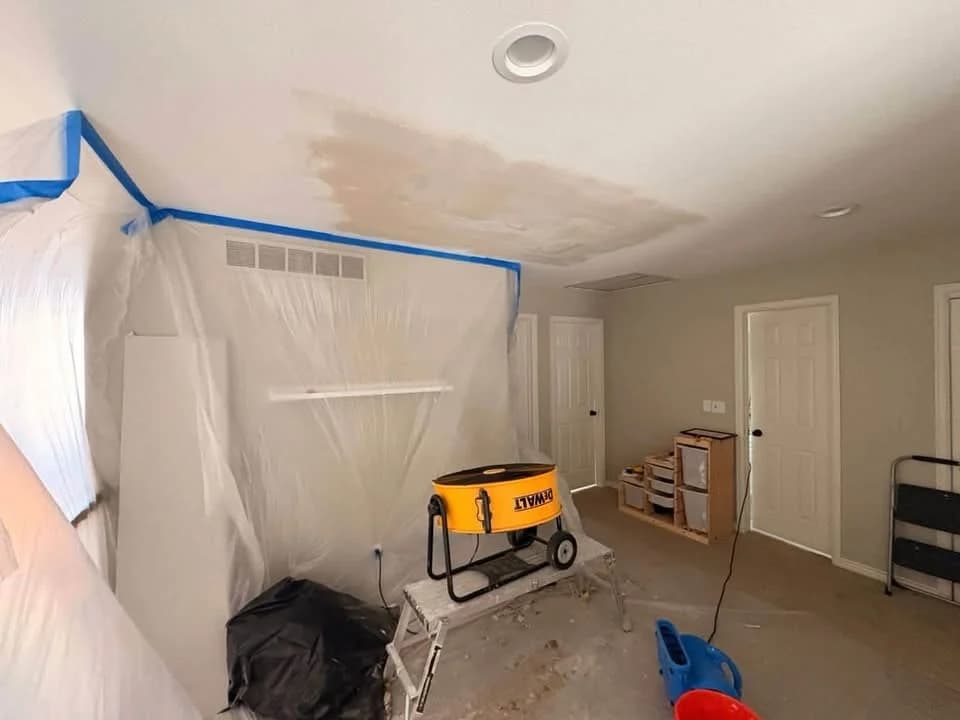
Ceiling repair area above masked openings, protected floors and work equipment
Ceiling repair with the adjoining room protected.
Drywall Repair · A closer look

Repair the area. Plan the finish around it.

Follow the work, from preparation to the final details. Your quote defines which steps and surfaces are included.

How the work comes together01 / 04
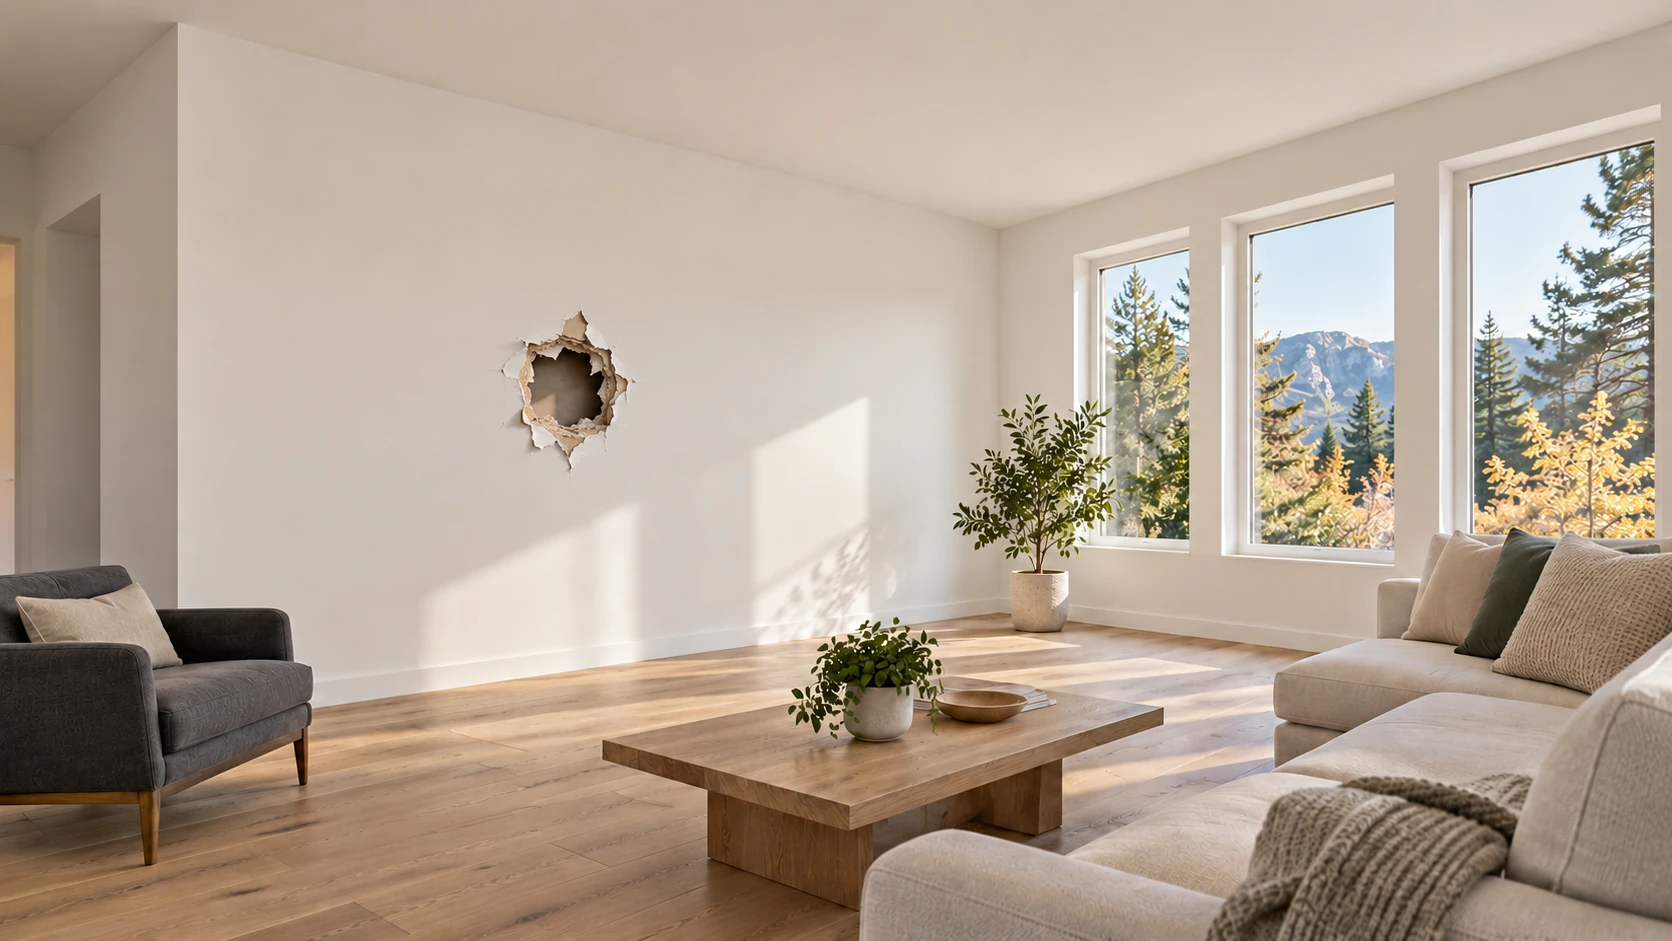
Illustrative room, stage 1: a localized damaged wall area. Color changes preserve the ceiling, windows, trim and furnishings.Illustrative room · Matched work stages
Explore this step in detail
Work detailThe damaged-area boundary
Drywall repair detail, stage 1: Open and prepare the damaged area.The existing wall and surrounding finish remain in place. A local opening receives backing, a replacement board patch, joint treatment and the included finish. Texture blending and any primer or painting have separately defined boundaries; a patch does not imply repainting the room.

Illustrative work sequence. The illustration isolates a patch and its finish layers. Repair area, texture blending and paint boundaries are defined for each room.

Finish scope to discuss
Repair finish to discuss

These are scope preferences. The room illustration does not reproduce your existing texture or promise an invisible match. Texture, primer and the painted boundary are confirmed separately in the quote.

01 / The damaged-area boundary

Open and prepare the damaged area

Protect the room and remove the agreed unsound material around the repair.

  • Address the underlying moisture or movement concern before closing the damaged area.
  • Confirm the patch extent, backing and applicable board requirements rather than assuming every wall needs the same repair.
02 / Backing & replacement board

Fit the backing and patch

Install the included backing and replacement board within the accepted repair area.

  • Fit the patch around the actual opening, corner or ceiling detail.
  • Any additional concealed damage needs agreement before the repair expands.
03 / Joint treatment & corners

Treat and blend the repair

Tape and finish the patch joints and included corners to the agreed finish.

  • Let the selected compounds dry as required before later finishing stages.
  • Existing texture and lighting affect how a patch blends. The accepted scope sets the finishing boundary.
04 / Texture & included paint work

Finish and review the patched area

Complete the included sanding and texture, and any separately accepted primer or painting.

  • A patch alone does not define a whole-room repaint. Confirm exactly which surfaces are painted.
  • Review the transition under normal room lighting and remove the repair debris and protection as agreed.
Your project starts here

What do you
want to work on?

Choose the closest starting point. We’ll include it with your request so the first conversation starts with your project.

Useful details to includeTell us what caused the damage, whether any leak is resolved, the number of patches and whether texture or paint is needed.

Questions first? Call (720) 619-6563
Start your project

Tell us about your project.

Tell us where and what you need. No obligation.

Your project choices

Service: Drywall Repair

Included with your request. We’ll confirm the scope with you.
Add project details or a plan link (optional)

Prefer email? Send photos or plans directly.

Call (720) 619-6563 Text Gilberto Email us

Project photos

Work and details.

A closer look at the surfaces, preparation and connections. Open a photograph to see the full view.

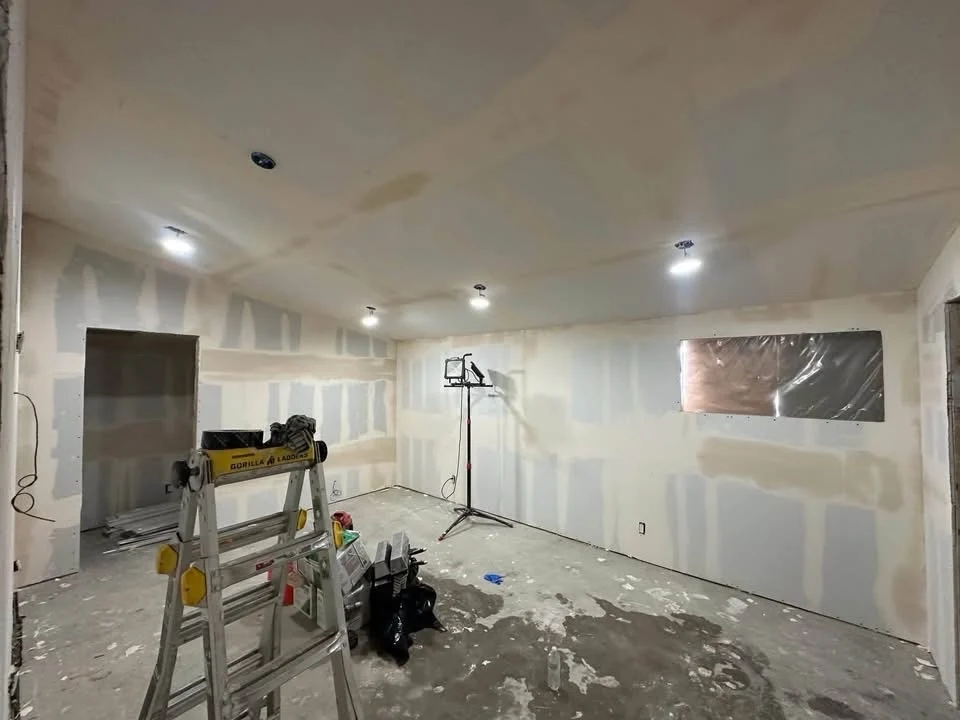
Wide interior room with visible drywall joints, compound and work equipmentOpen full photo
Drywall joint finishing in the room.

Make the right repair decision

Drywall Repair in Denver metro: start with the actual problem.

The source of water damage must be addressed before damaged drywall is closed. We discuss patch size, backing, texture, and whether painting is included. Persistent movement cracks may need a separate assessment of the cause.

When to request an inspection

  • Holes, damaged corners, or failed patches
  • Cracks or texture mismatch
  • Drywall damage after a leak

What affects your quote

  • Repair area and number of separate patches
  • Texture matching and finish requirements
  • Access, underlying condition, and paint scope
How to prepare for your estimate

Tell us what caused the damage and whether a leak has been fixed. Share photos of the surrounding texture as well as the damaged spot.

Get a written scope before scheduling work. We discuss materials, the repair area, access, and any related work so you can compare your options.

Continue with your project choices.

Send your scope and finish preferences with the project request above. Your estimate starts with the work you selected.

Go to my project request
YOUR PROJECT / THE NEXT STEP

Put the details
in one request.

Include your chosen scope and finishes, the property details, and a link to any plans. We’ll review the work and confirm the next step with you.

Continue my projectYour selections stay on this page until you send your request.

Explore roofing details and published exterior project records.

Open the photo library

The service

Drywall Repair for Front Range conditions

Every home collects drywall wounds: the doorknob hole, the settling crack over the window, ceiling stains from that gutter overflow, nail pops marching down a hallway. Individually small, collectively they age a house — and painting over them without real repair just puts a fresh coat on the problem.

We fix it properly: cut back to sound board, address the cause where there is one (a stained ceiling gets a moisture check before mud, every time), patch with backing that won't flex, tape with setting compound, and blend knockdown, orange peel or smooth finishes into the surrounding surface. We protect the room, control dust and clean up after the repair. Drying between coats can require more than one visit.

Colorado note

Why Front Range walls crack

Expansive clay soils and big seasonal humidity swings make Colorado homes flex more than framing textbooks admit. The repair starts with the crack pattern and signs of moisture or movement. We tape and finish repairable joints, and flag conditions that call for a structural or other specialist.

Local

Serving these cities

Free on-site estimates across the Denver metro — tap your city for local details.

Scope

What’s included

  • Holes, gouges, and door-strike damage
  • Taped repairs for settling and stress cracks
  • Water-damage cutout with moisture verification
  • Nail pop correction with proper refastening
  • Texture matching: knockdown, orange peel, smooth
  • Optional prime-and-paint to finished color

Choices

Options & materials

Quick

Patch & Texture Visit

Holes, cracks and nail pops patched and textured in the areas that need attention. Primer and painting can be added.

Restoration

Water Damage Repair

Stained or sagging board cut back to dry, sound material — after we verify the leak is actually fixed — then rebuilt and blended.

Whole home

Pre-Sale Wall Refresh

Every ding and crack in the house repaired before listing photos. Small money, outsized first impression.

How we work

Four steps. A clearer plan.

Good questions

Questions homeowners ask

Can you really make the patch invisible?

We work to blend the patch with the surrounding surface. Texture, age, lighting and paint can leave a visible transition, so an invisible match is not guaranteed. We can discuss a sample and the best area to repaint.

There's a water stain on my ceiling — can you just paint it?

Please don't — and we won't. Stains mean moisture got in, and painting over wet or compromised board seals in a mold risk. We verify the source is fixed, check moisture content, cut back anything unsound, and then rebuild. It's a slightly longer path to a much better answer.

What causes nail pops and are they serious?

Lumber drying and seasonal movement push fasteners proud of the surface — very common in Colorado's dry climate and rarely structural. The correct repair adds a screw beside each pop, resets the original fastener, and refinishes. Pushing them back and painting is a six-month fix.

Do you paint after the repair?

Yes. We can prime and paint after patching. Painting to a corner or across a full wall can reduce color and sheen differences; we'll recommend a finish area for your room.

What affects the price of drywall repair?

Repair area and number of separate patches; Texture matching and finish requirements; Access, underlying condition, and paint scope. We inspect the property before giving a written project quote.

How should I prepare for my Drywall Repair estimate?

Tell us what caused the damage and whether a leak has been fixed. Share photos of the surrounding texture as well as the damaged spot.

From our blog

Colorado exterior guides

All blog posts

Free estimates · No pressure

Ready for drywall repair?

Free on-site walk-through, a written line-item quote, and honest advice — even when the honest advice is a smaller job.

Continue my project
PEAK ELEVATION EXTERIORS

Project concierge

Guided planning. A clearer path to your estimate.

01 / TELL US ABOUT YOUR HOME

Leave out your address and contact details. Your text stays in this page until you choose to copy or send it.

Prefer to send a request directly?